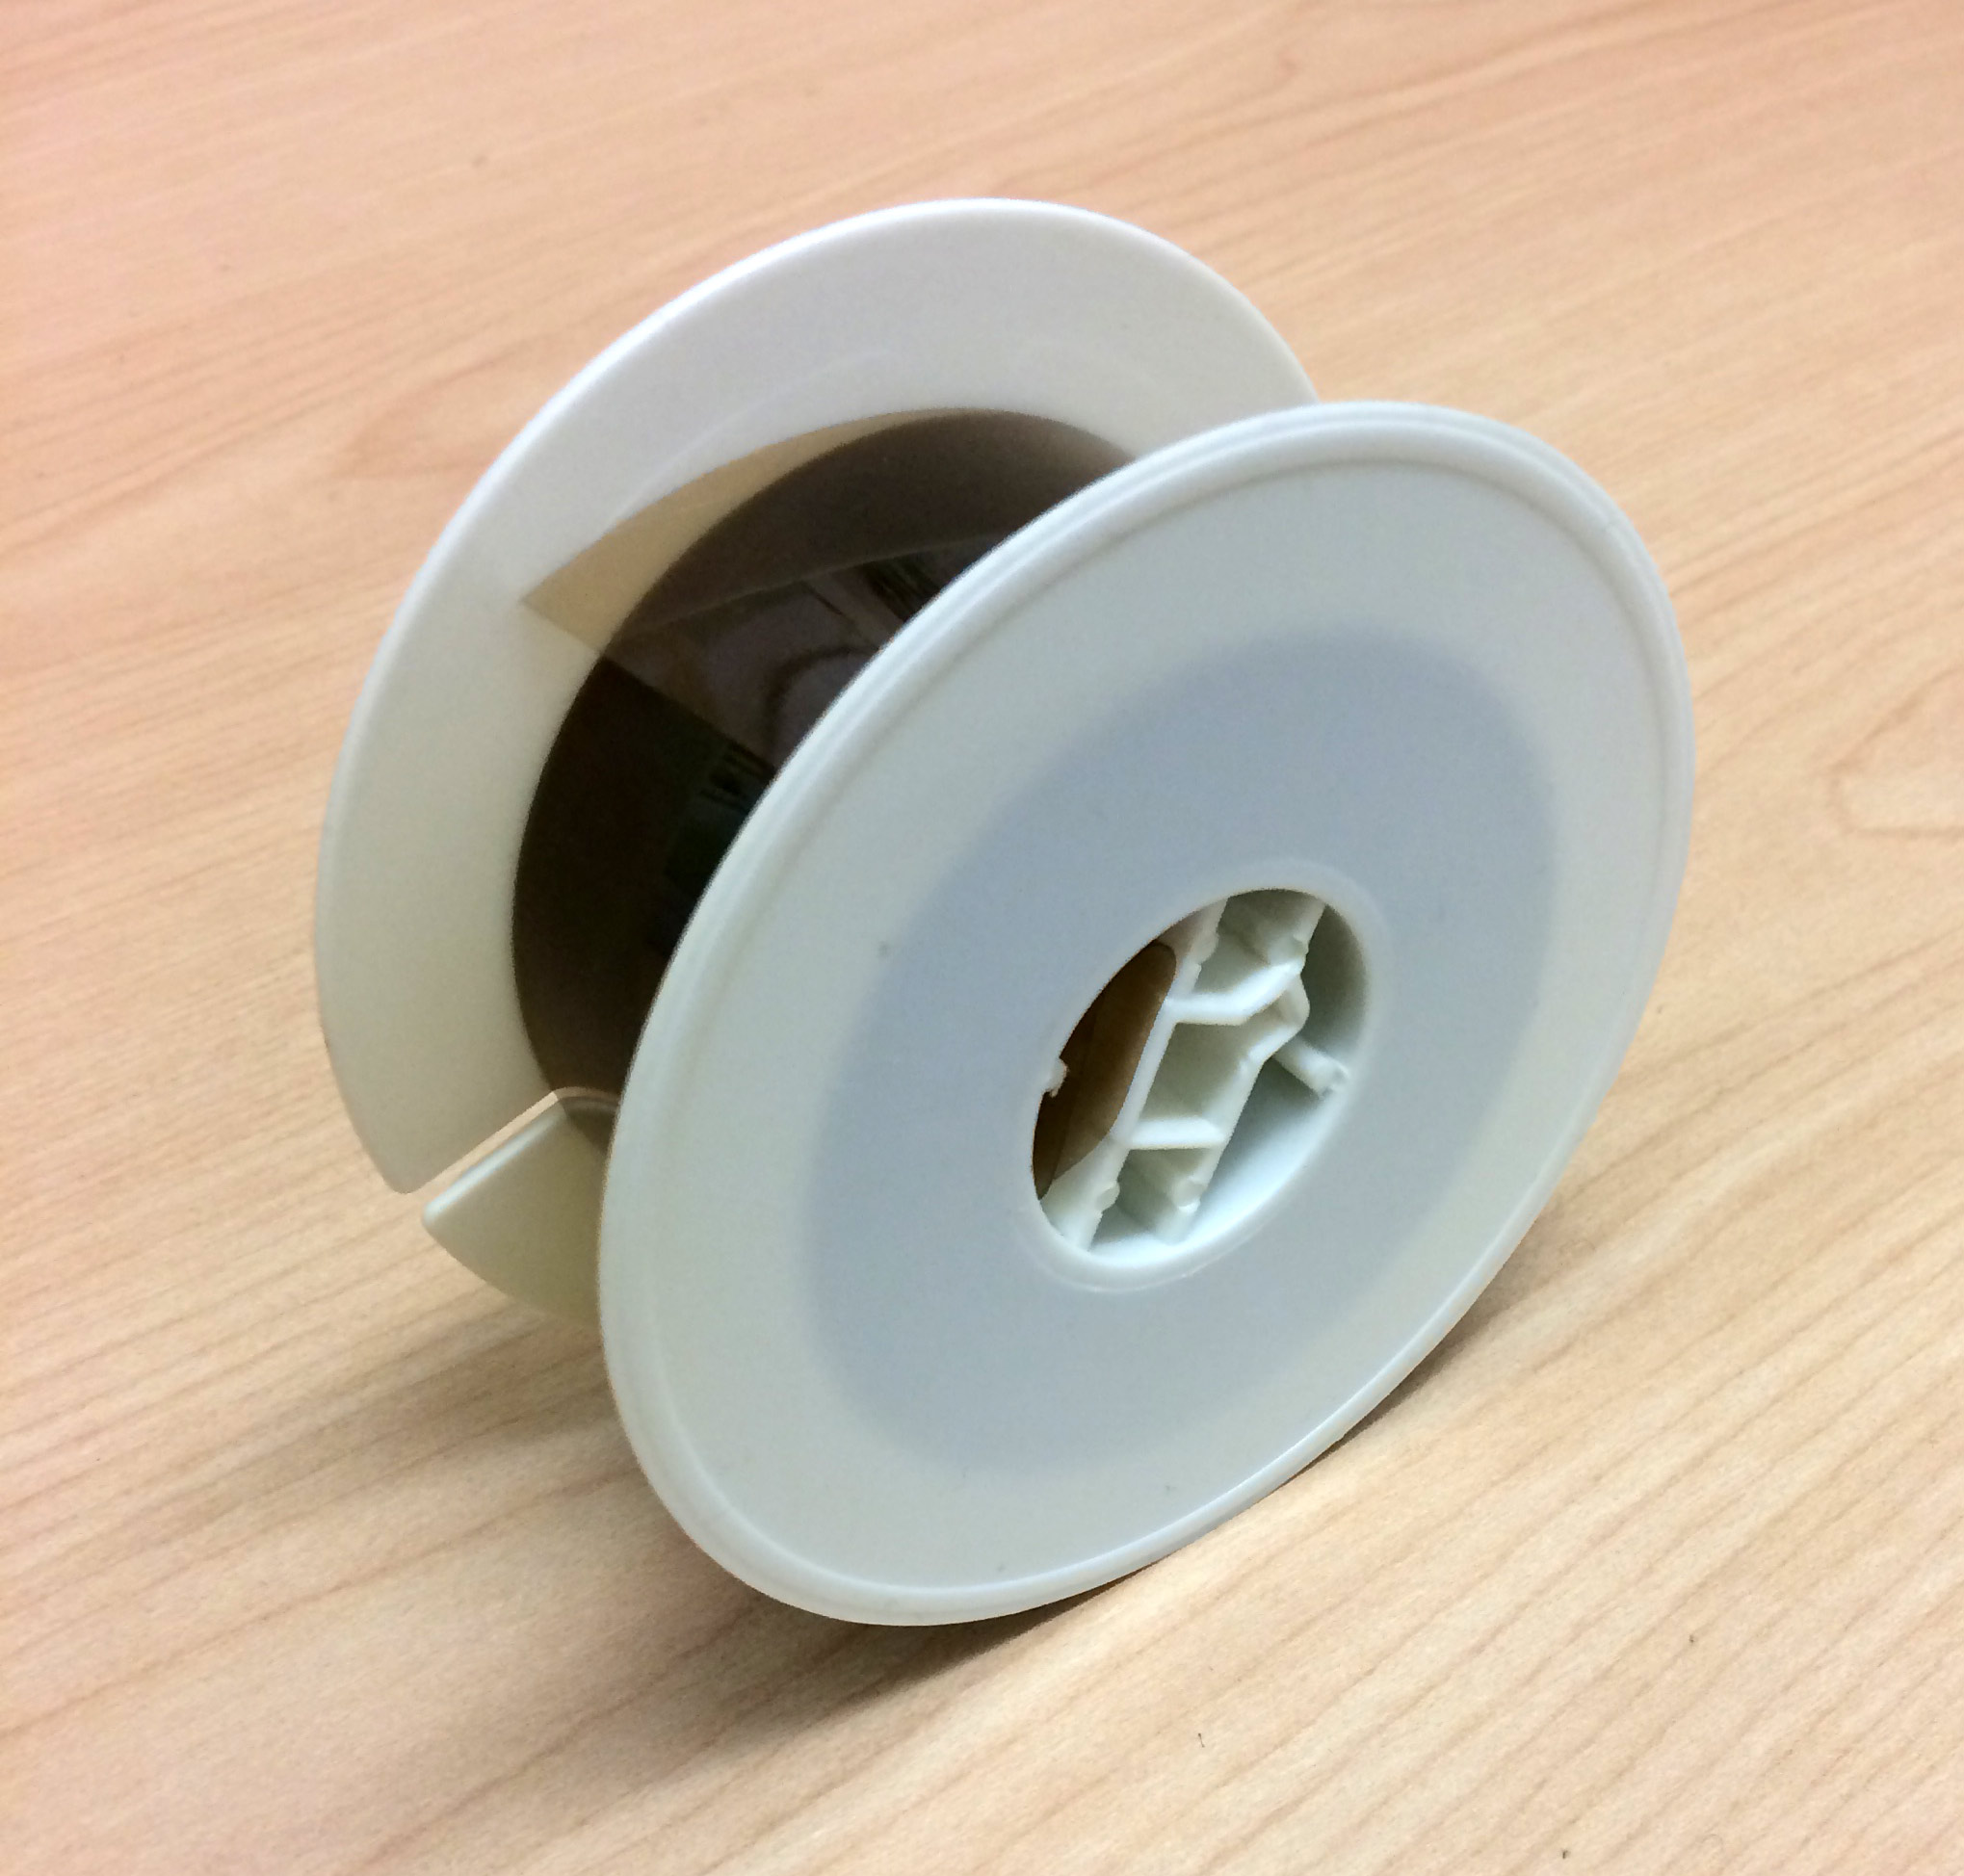
Microforms are reduced-size copies of documents used for access and preservation. There are a few different formats of microforms, the most popular being microfilm (film reels) and microfiche (flat film sheets). This post focuses on how we digitize microfilm.
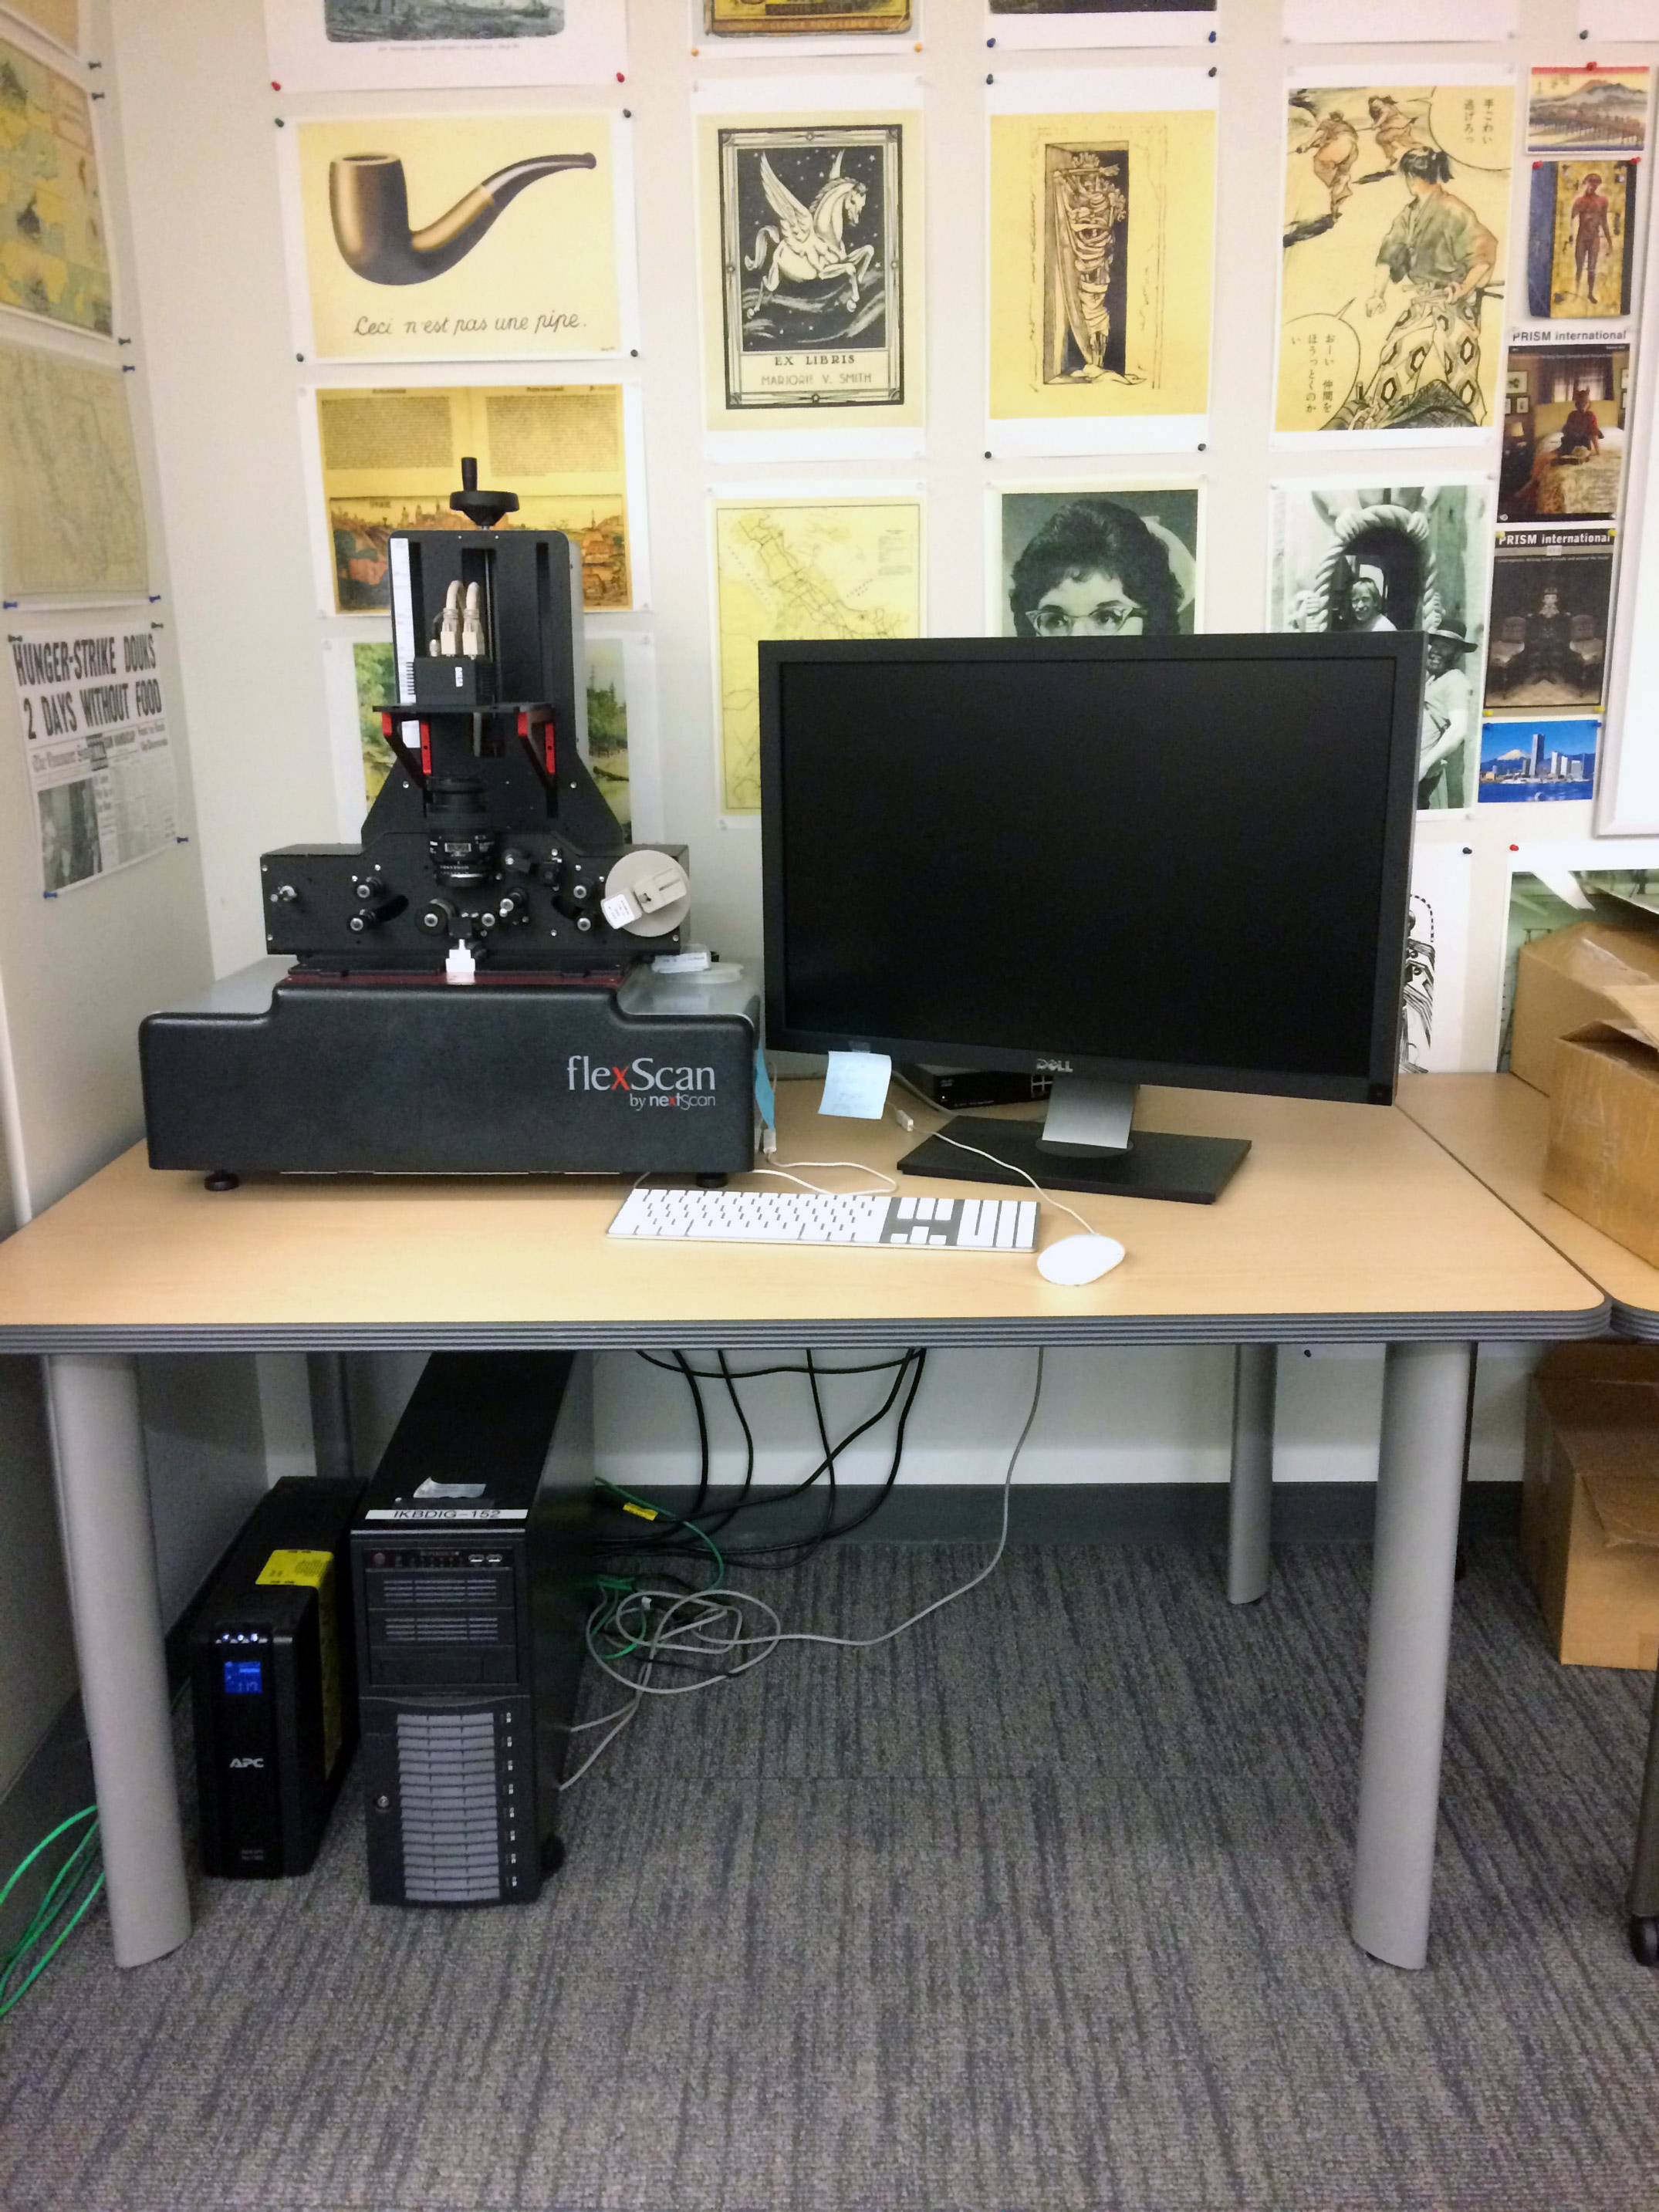
At the Digitization Centre, we have digitized newspaper microfilms using our flexScan equipment. Although microfilm is a relatively stable format for preservation purposes, digitization increases access to those materials. Thanks to microfilm digitization, the BC Historical Newspapers collection is fully accessible (and searchable) online, without the need for specialized equipment like a microfilm reader.
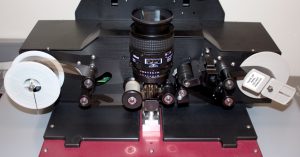
To digitize a roll of microfilm, it must first be installed on the flexScan machine. The film has to be woven through precisely, as shown here:
Then, the digitizer adjusts several settings on a computer connected to the flexScan. These include the width of the film (16 or 35 mm) and polarity (negative or positive). Most of the microfilms we have digitized are 35 mm negatives.
One tricky setting to get right is the “reduction ratio”. The reduction ration is the ratio of the original newspaper size to the size of the newspaper on the film. So, if the original newspaper was 430 mm high, and the image on the film is 30 mm high, the reduction ratio would be 430 mm / 30 mm ≈ 14.5. This means the original newspaper was shrunk by a factor of 14.5 on the microfilm.
The reduction ratio is important because it helps us approximate the “true DPI” of the image. DPI stands for “dots per inch”. To calculate out the “true DPI” of the microfilm (how many dots per inch on the film itself), we multiply the approximate DPI of the newspaper (300 DPI) by the reduction ratio. Therefore, in this example, the “true DPI” is 300 DPI x 14.5 = 4350 DPI. This number tells the digitizer how to set the height of the scanner’s sensor.
After configuring these settings and adjusting the sensor height, it’s time to focus! Pressing a button on the computer interface begins slow, incremental movements of the film reel.
In between each advancement of the reel, the digitizer adjusts the camera lens, monitoring the image on the screen until it looks crisp.
After focusing, there are a couple more settings to be adjusted related to lighting and exposure. Then, it’s time to scan!
Once scanning has started, the digitizer can monitor the images produced as they scroll by, pausing to adjust settings as needed:
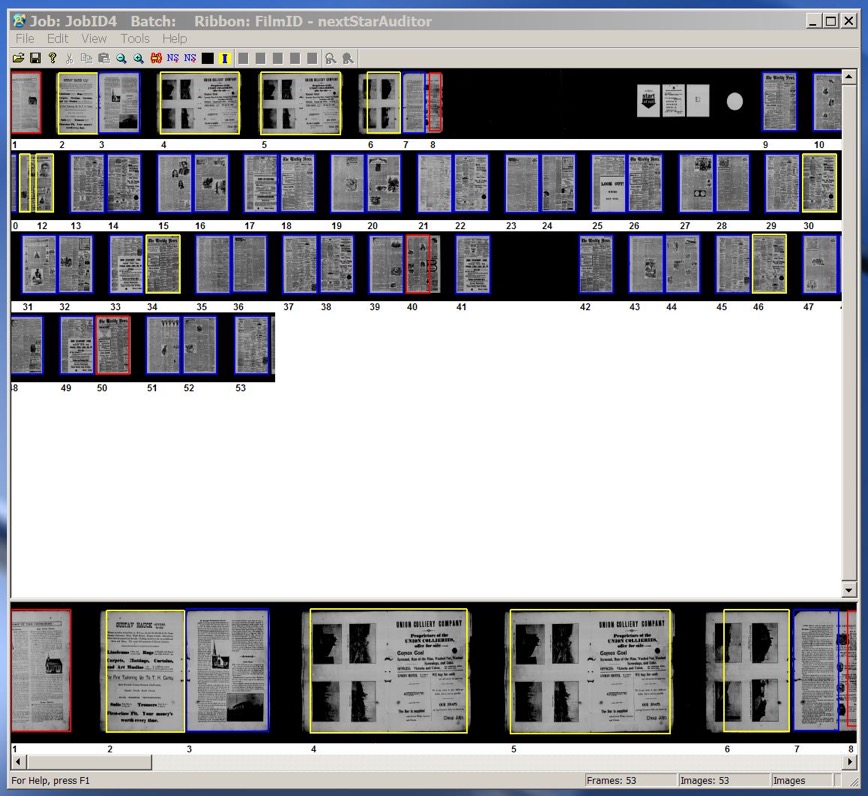
After scanning is complete, the digitizer opens a program called the “Auditor”. This program automatically detects the boundaries of each page; however, it requires some manual adjustment on the part of the digitizer. The screen looks like this:
In the image above, the blue boxes represent confirmed pages, and the yellow and red boxes show issues that need to be manually adjusted. Once everything has been adjusted, the portions inside the boxes can be output into TIFF files.
Interested in our digitization processes and equipment? Check out these previous blog posts on our other scanning equipment, as well as many more behind-the-scenes posts under the How We Digitize tag:


Hi UBC,
I found it interesting that you save news pages as tiffs rather than jpegs. Is there a reason for this?
What do you post online? I’d check myself, but BC Historical Newspapers isn’t fully available right now. I’ve looked at it before and it’s a terrific site. Congratulations!
Thanks.
Hi Liz, thanks for your interest in the Digitization Centre.
We save the image files from our scans as tifs as they are the generally accepted image format for digital preservation. tifs also tend to hold a lot more information than jpegs. When we upload items to Open Collections they are uploaded as jpegs. Due to their smaller file size, jpegs tend to load faster than tifs and therefore are a more appropriate format for access.
BC Newspapers has 168 titles from across British Columbia. Not sure why it wasn’t working for your earlier but it can be found here https://open.library.ubc.ca/collections/bcnewspapers
JPEG compression is very bad for images of text, as it is designed primarily for natural scenes. I would hope they are using a ZIP (GIF or PNG) or run-length based compression of grayscale image data (as a general rule, microfilm for archives is not in color). TIFF supports all of these compression schemes.
Thanks for the ‘how-to.’ It was really informative. One question: how much was the FlexScan?
Thank you, again, for such great information!
Hi Susan,
We love sharing how-to information about digitization. Here’s the website for the FlexScan: https://www.nextscan.com/nextscan-products/flexscan-multi-format-scanners/
Is OCR built into the process? If not, how would this task be accomplished so text is searchable?
Great question, thank you! The OCR is not part of the digitization process. It is added when the content is uploaded to our collections management system. OCR can also be added while making PDFs. Hope this is helpful… have a good day!
Been using the Flex scan for a year,I absolutely love the support from the company!
Great to hear. Thank you for the comment!