In our last post, we talked about how you can handle and preserve your materials in order to lengthen their lifespan. This post will explore the Metadata and Digitization steps. As always, these topics can be explored in more depth, and we will point you to some resources if you need more information.

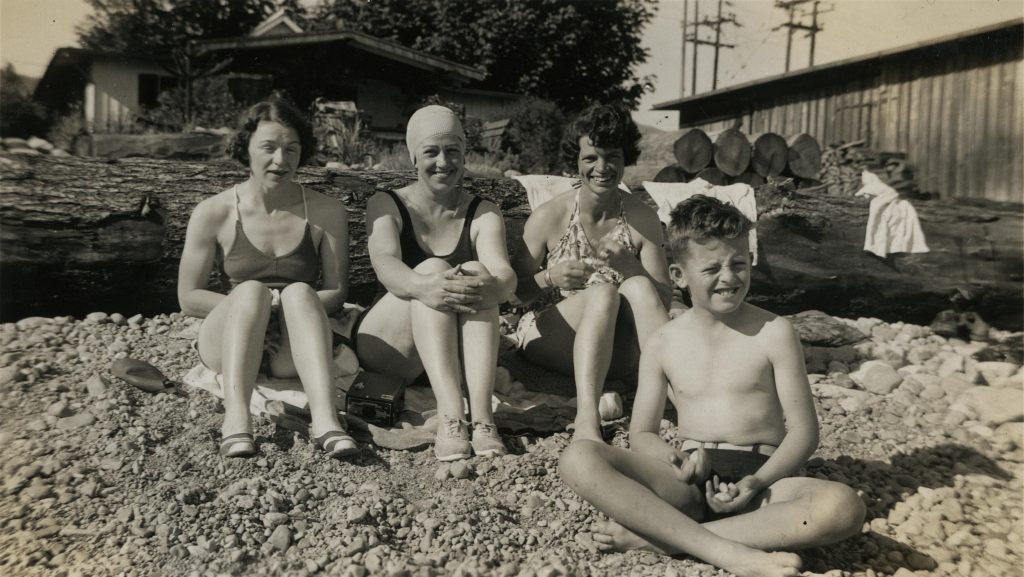
[Wilson photo album], 1947
Before we begin
Before starting to create metadata and digitize your materials, it is helpful to determine if you will be using software or a web application to upload your materials and make them available online, or if you will just be storing your items in a folder on your computer. This may impact how you structure your metadata.
Metadata
The basic definition for metadata is: “data about data.” If you want to know the basics of this topic, check out our post Managing metadata: a love note to the future. Metadata is what identifies the object and helps you retrieve the information.
Metadata can be descriptive (manual entry: what, who, when, where – type of information), technical (automated entry: file format, size in pixels, equipment used to digitize etc.), or embedded (e.g. the creation date on the file name).
If you are using software or a web application
- Identify possible metadata that can be useful for you: identifier (unique number that identifies the item), title, creator, date created, location, topic (what is the item about), description, etc.
- Many programs, such as Flickr, often already have default metadata fields or will allow you to add new ones.
If you are storing the files on your computer
- Identify basic metadata that you would like to use to retrieve items.
- Create a folder structure that makes sense for you and anyone else who will be using the materials.
Examples:
|
Collection -> Topic -> Year -> Item Photographs -> Travel -> 2018 -> 001 Photographs -> Travel -> 2018 -> Toronto -> 001 |
|
Year -> Collection -> Topic -> Specific -> Item 2018 -> Photographs -> Travel -> Toronto -> 001 2018 -> Travel -> Toronto -> 001 |
Naming
The objects need a unique identifier so that you don’t confuse items for one another. Creating a consistent naming structure also makes things easier to find. Try to create a consistent and unique name for all of your items using the following guidelines:
- Maximum 32 characters per file name
- Naming can have roman characters and numbers
- Use underscores and hyphens, instead of spaces and punctuation
- Quantity of items to be digitized, so the naming reflects the number of digits
- Consistent use of lower or upper case and 0’s for ordering (e.g. album_001_page_069)
- Embed metadata into file names, such as scan date, page number, etc.
Examples:
|
collection_album_page_item Travel_YYZ_001_004 TR_YYZ_001_004 |
|
collection_topic_year Travel_Toronto_2018_001 TR_YYZ_2018_001 |
Digitization
Having your items digitized means that you can avoid handling the original materials and thus help preserve them. To digitize your items, you can use: flatbed scanners, document scanners, digital cameras, and other types of equipment depending on the physical item and its condition.
| Documents | Photographs and prints | Books | |
| File format | TIFF, JPEG 2000, PDF/A | TIFF | TIFF, JPEG 2000, PDF/A |
| Resolution | 300 ppi | 400 ppi | 300 ppi |
| Bit depth | 8 or 16 | 8 or 16 | 8 or 16 |
| Color | Color | Color | Grayscale or Color |
| Equipment (for personal collections) | Flatbed scanners, digital cameras, manual or automatically fed scanners | Flatbed scanners, digital cameras | Digital camera |
| If possible | Avoid using automatically fed scanners for valuable and/or fragile papers | Use cameras that take high-quality photos | Use book supports, wedges or cradle |
After digitizing, name the file according to the rules that you created, and put a “Scanned” label on the document folder.
Remember
- These instructions are general and for personal collections. If you have resources and can buy equipment or hire personnel, then check out the Technical guidelines for digitizing cultural heritage materials
- For very valuable items, back up the files by following the 3-2-1 rule: three copies, stored in two different media and one copy located off-site.
- Check if your public library offers digitization equipment and drop-in orientations on how to use them.
Post processing
When you have finished digitizing the item, you can use Photoshop to crop and de-skew the item as well as do minimal colour adjustments. The intention is to enhance the document so that the information can be accurately read, while still being faithful to the original representation.
When cropping, remember to leave a border around the object. If the object is big and you had to scan in two or more parts, you can merge the images together. Merging images requires time to edit, and you may even have to scan the image again to ensure that it looks perfect and that no information was lost. It may be easier to just have two separate images side-by-side, indicating that one is the continuation of the other.
More information
- Care, handling, and storage of photographs
- How to preserve family papers and photographs
- Technical guidelines for digitizing cultural heritage materials
Sources:
Care, handling, and storage of photographs (Library of Congress)
Tips for handling family papers and photographs (National Archives)


