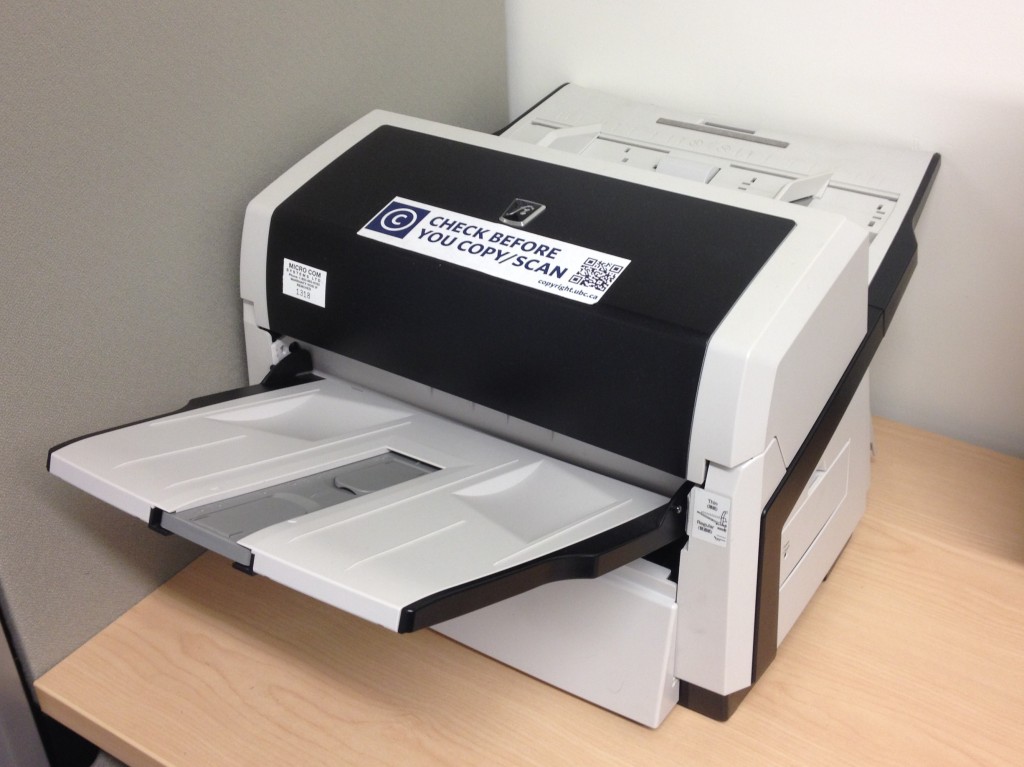
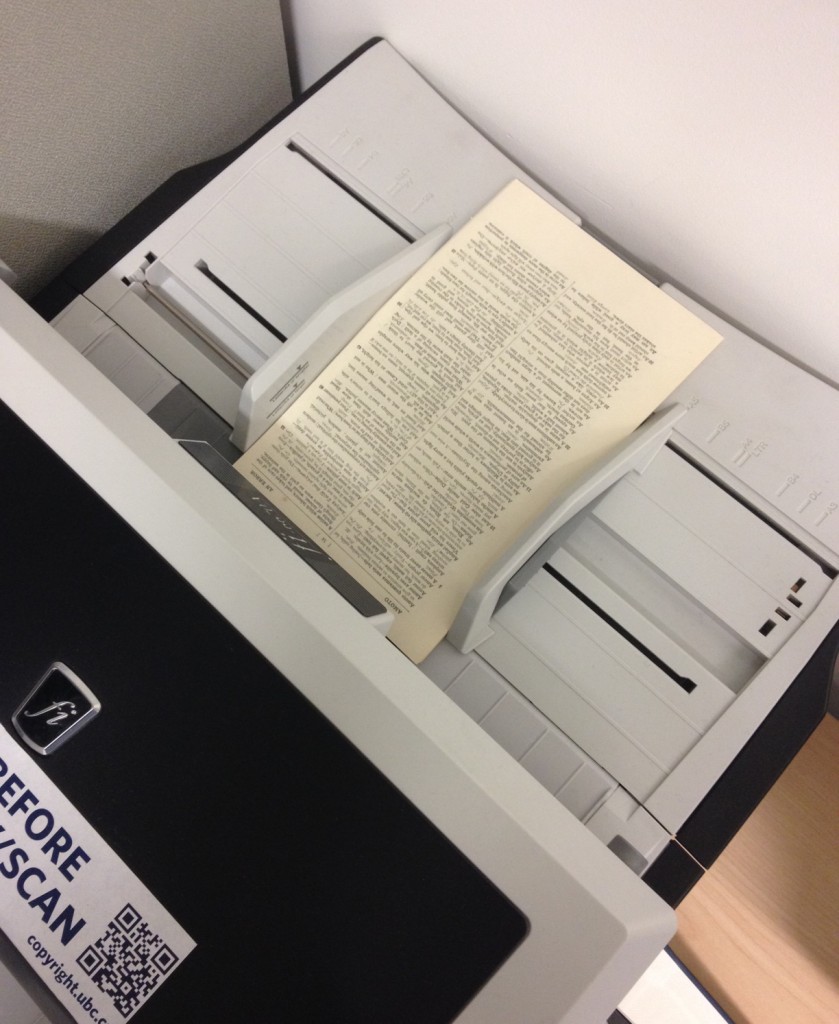
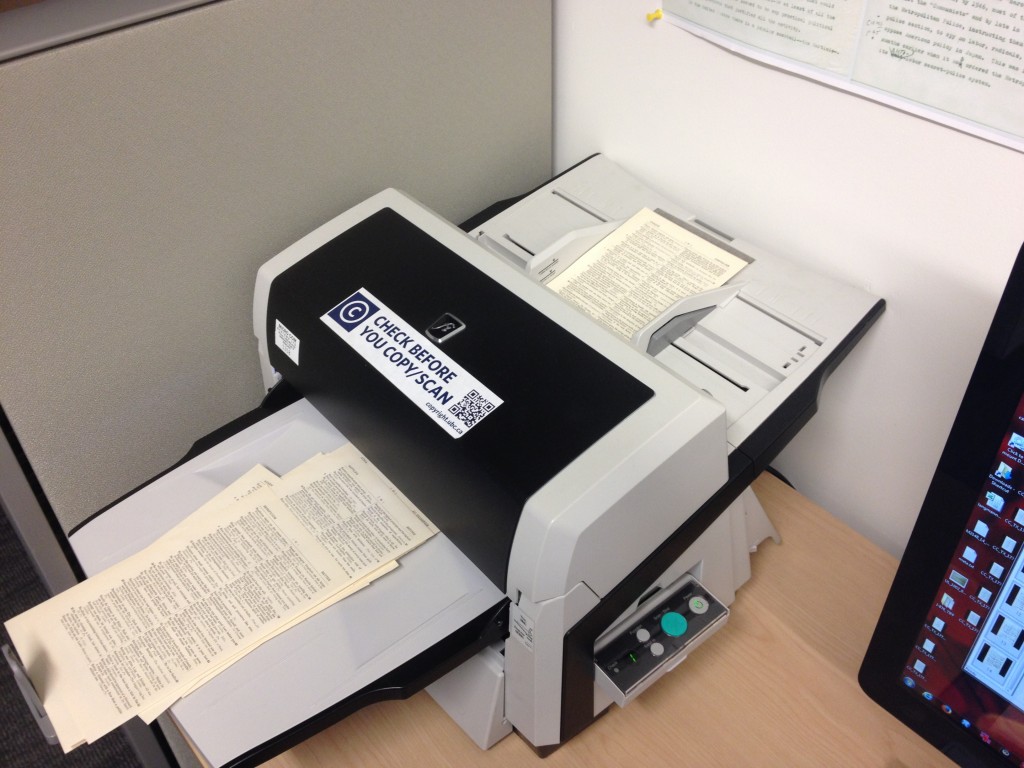
Another machine that we use on a regular basis here at the Digitization Centre are our Fujitsu fi-6670A multipage scanners.
The Fujitsu scanners are high-speed, sheet-fed machines that can scan up to 90 pages per minute on both sides, which is approximately 180 images per minute. These multipage scanners can handle a range of material sizes, from business card size up to tabloid size. Although the image quality is not as good as the flatbed scanners, they are still useful for many projects. The BC Sessional Papers project, for example, primarily uses the Fujistu scanners to quickly and efficiently digitize the documents.
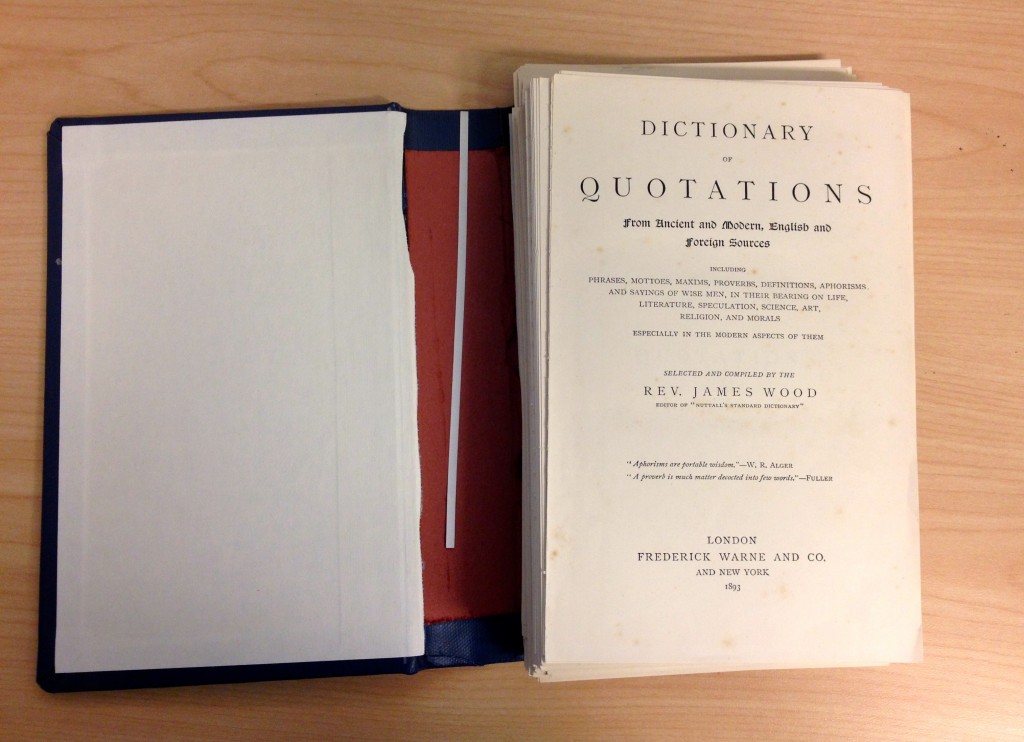
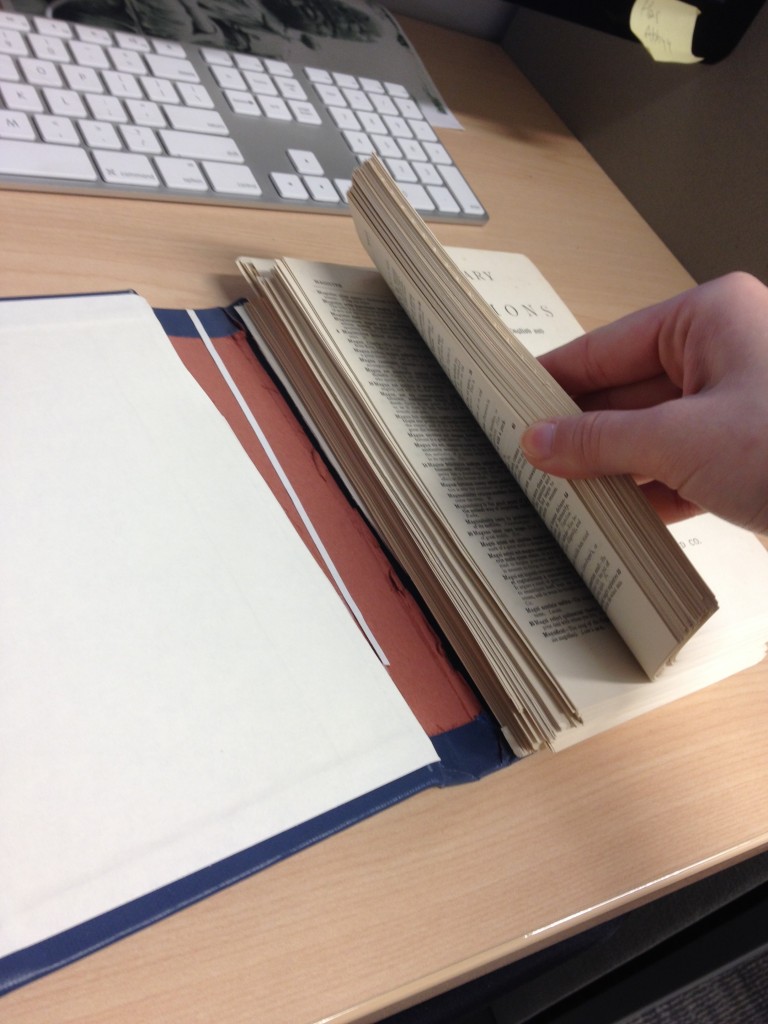
Some projects require an important step before we actually begin to scan the materials. This step involves removing the binding of volumes and cutting the pages to size. Here at the Digitization Centre, we use a large paper cutter (by Krug & Priester) nicknamed “The Discoverer” to cut the bindings off books and to cut the pages to a uniform size. Click here for a video of a student using “The Discoverer”.
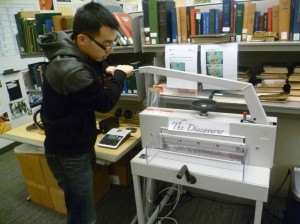
One of our students, Derek, demonstrating using The Discoverer. Click here to read more about about it.
How we use it the multipage scanners:
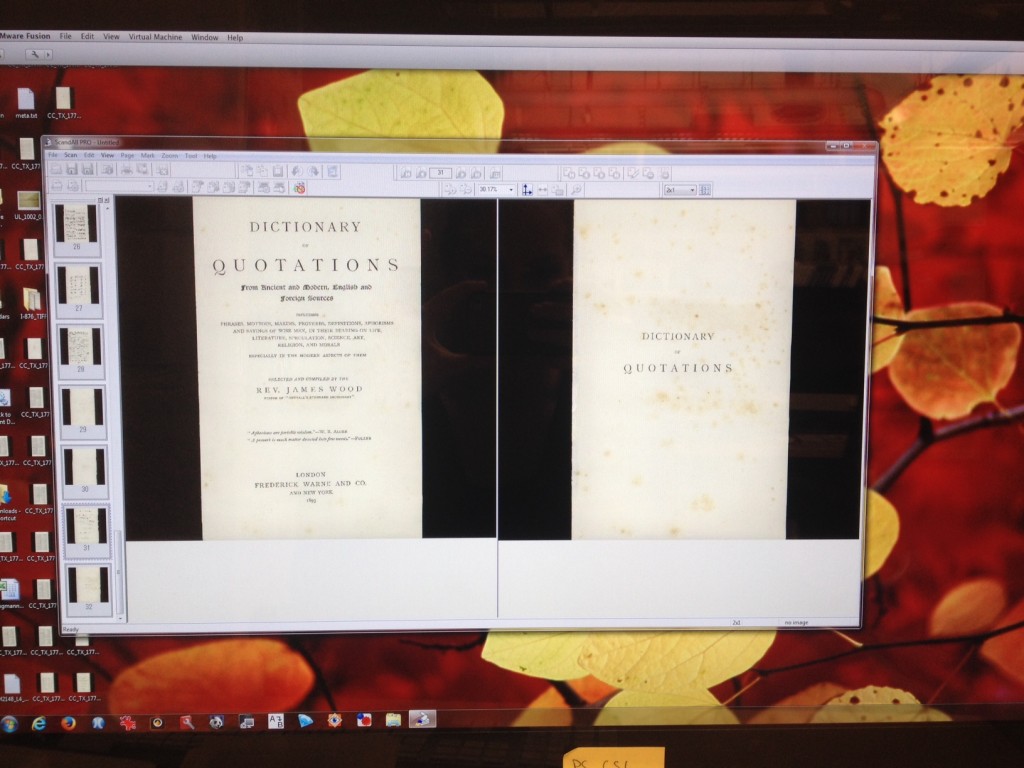
- Once we have the individual pages we then turn the scanner on and run the ScandAll Pro software to load on a Windows platform.
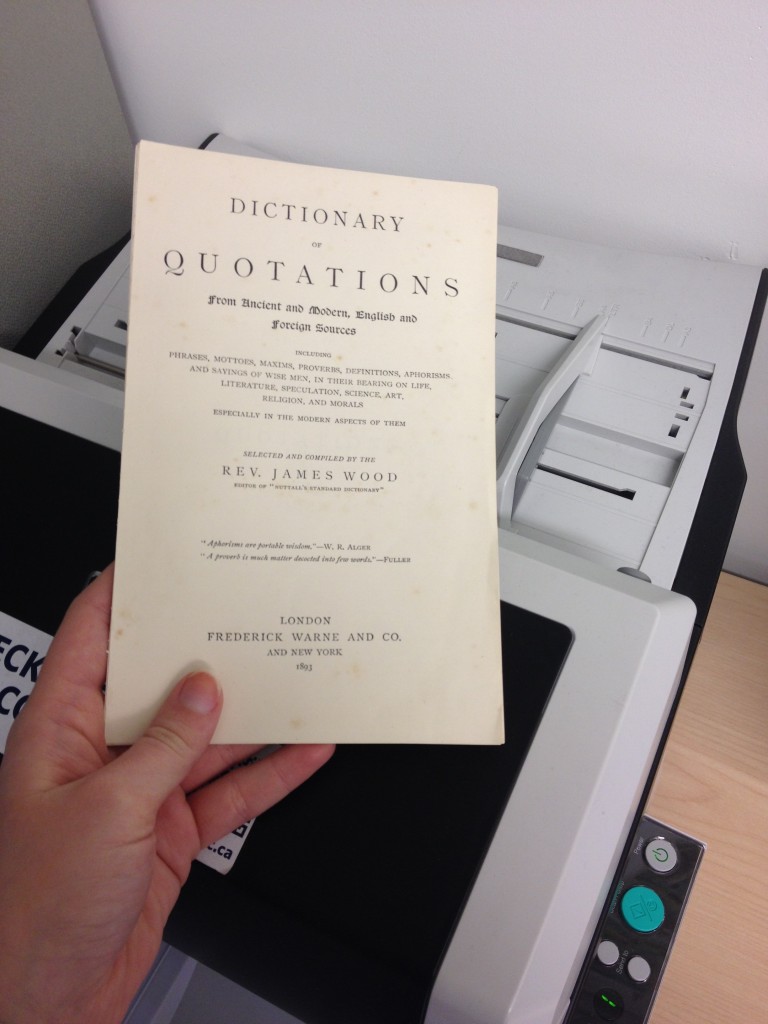
- After we have changed the scan settings in the software to our standards and preferences, we load the pages into the tray.
- We click scan and the the process begins! While the pages are scanning, we monitor the .tiff images appear on the computer.
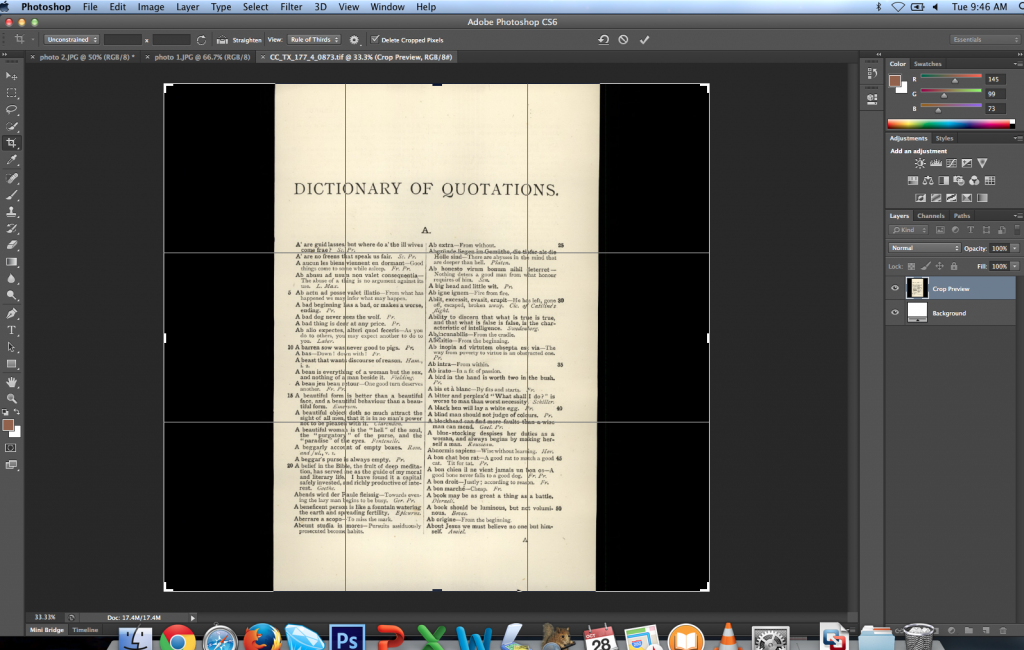
- After the volume or print has been scanned, we open the images in Photoshop to enhance the image.
- Now the images are ready for the addition of metadata.
Stay tuned for our next post on our ATIZ scanners, used for imaging rare books!
Read our earlier posts in the How We Digitize series on:
