How We Digitize – A new blog series that will reveal some of the tools and machines we use to digitize materials.
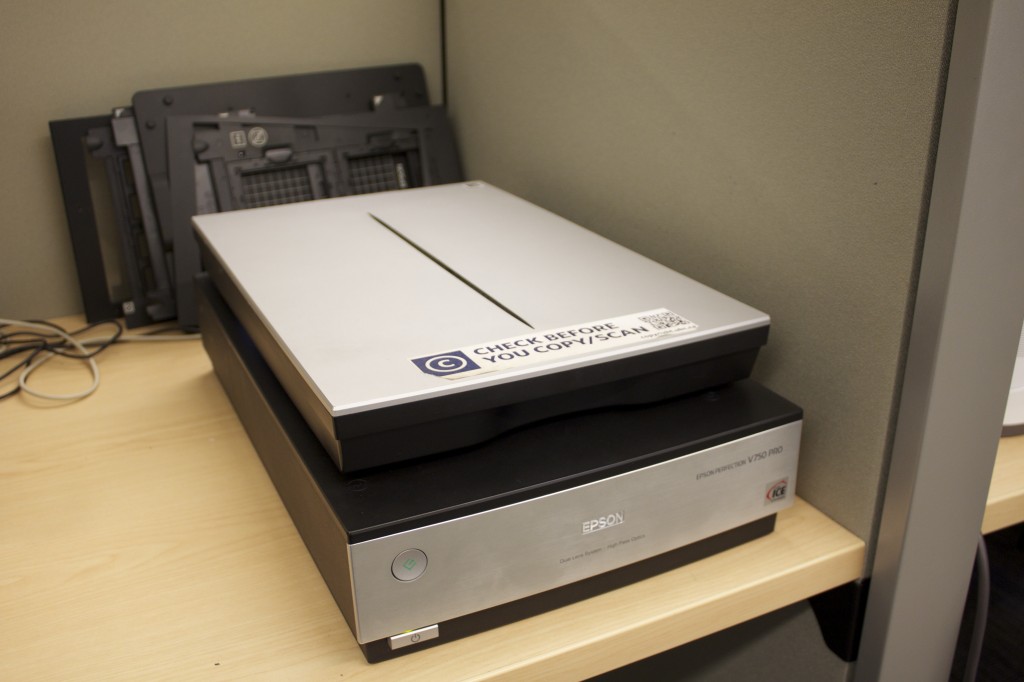
Some of the most commonly used machines in the Digitization Centre are flatbed scanners (Epson Perfection V750 Pro). These scanners are typically used for photographs and documents that are 8.5 x 11 inches or smaller, although there are cases when bound books or documents are scanned with these machines. Decisions regarding whether or not to use flatbed scanners depend on the project and the type of materials to be scanned.
The flatbed scanners are one of the preferred machines because they produce some of the best quality images (most images are scanned at 600 PPI – pixels per inch). Even extremely tiny objects, such as tiny cards with writing, can be scanned for excellent quality.
Sometimes the Digitization Centre uses flatbed scanners to scan small physical objects. A few weeks ago we needed to digitize amulets found in a burial site for the UBC CNERS Artifact Collections, a project to create a digital database of the archaeological teaching collections at the University of British Columbia. The staff tried to use one of the more intricate machines, but the best images actually came from the flatbed scanners. Details on the amulets that were invisible before, such as distinct colors, were visible in the scans. (See the UBC CNERS Artifact Collections for more information and additional images of the artifacts taken with the TTI workstation, as well as the Epigraphic Squeezes collection).
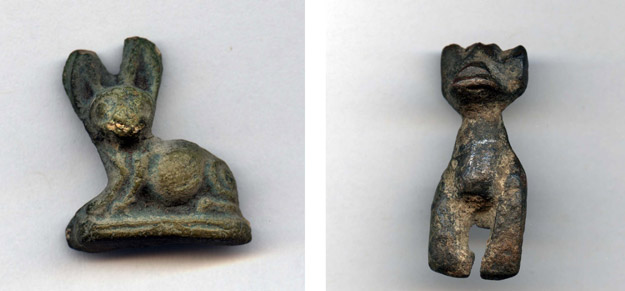
Two Egyptian amulets scanned by the flatbed scanner. For more details see http://cnerscollections.omeka.net/items/show/125
Another instance when the flatbed scanners were used to digitize small physical objects involved scanning a cuneiform table the size of an individual mini wheat cereal piece (also part of the UBC CNERS Artifact Collections). The scans produced images that allowed for the texture and details to be represented in the image.
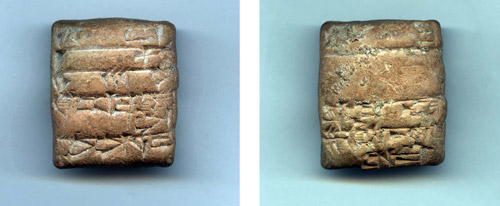
Front and back of a cuneiform tablet scanned by the flatbed scanner, dated to the Ur III period, c. 2100-2000 BCE, possibly Sumerian script. The tablet depicts a receipt for the delivery of livestock and possibly oil. For more details see http://cnerscollections.omeka.net/items/show/129
How we use flatbed scanners:
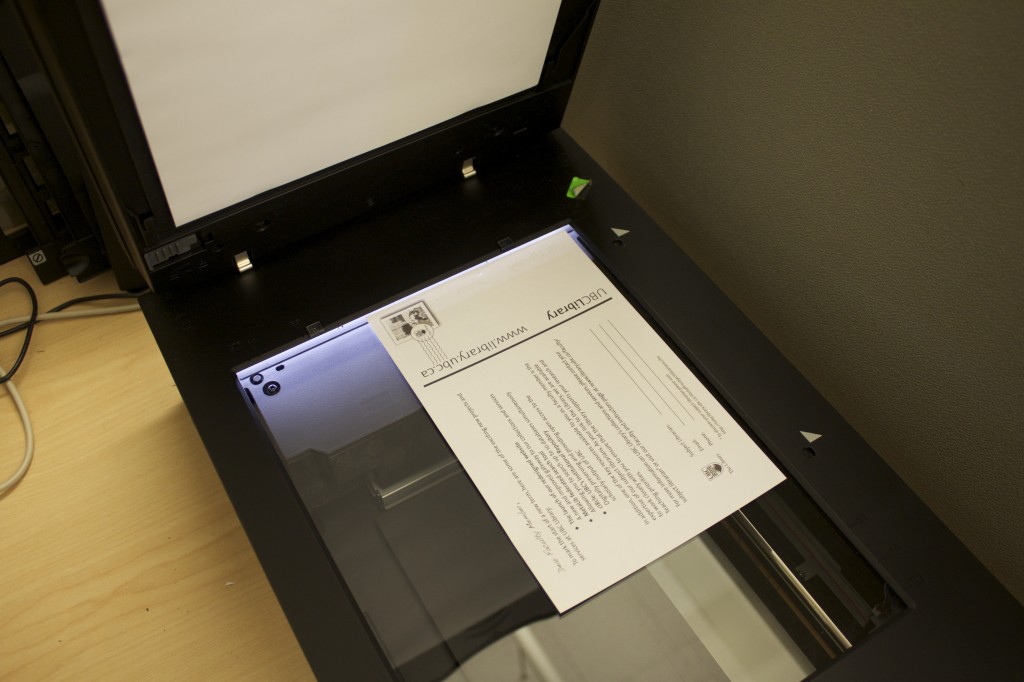
- We place the photograph, document or object onto the right hand corner of the glass.
- Once the object is in place, we close the top (which has a film pad that helps keep the object in place. Sometimes when additional pressure is required, we add books to the top of the scanner to ensure the document or photograph are laying flat).
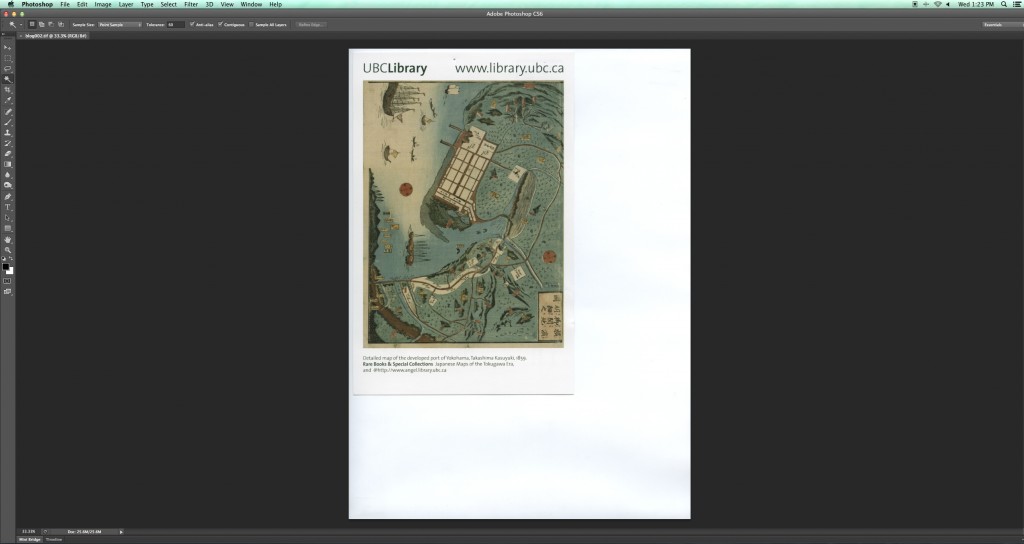
- Once the object has been previewed and scanned we save the image and open the file in Photoshop to process the image, such as straightening the image, adjusting the color range, sharpening the image, cropping the image and so forth. The goal of processing the image in Photoshop is to enhance it slightly, so that all features are viewable on a device or a print out. We do not want to alter the integrity of the original object by changing too many features. We would not, for example, over saturate an image, or crop huge portions of the image out. If we did this, much of the original context of the object (whether it is a document or a photograph) would be gone.
- The image is then ready to have metadata added to it and put online. To view our current online collections, see the UBC Library Digital Collections website.
Stay tuned for the next post in this series about multipage scanners!
